Bluetooth Controller
You will be connecting a wireless game controller to your ESP32 for controlling your robot (i.e. triggering autonomous modes, moving between challenges, and triggering your launch mechanism)
That being said, you will not earn points for manually driving your robot through the challenges, as that defeats the purpose of having the sensors.
It is highly recommended that you map autonomous sensors modes (line, color, distance) to specific buttons on the remote controller so that you have more control over your robot’s behavior (i.e. press A -> autonomous color mode, press B -> exit to normal drive mode).
See BluePad32’s official docs if you’d like to see other features.
The process for interfacing your controller to the ESP32 is as follows:
- Find controller Bluetooth address
- Add address to ESP32 allowlist
- Connect controller & stream data!
Finding Bluetooth Address
Note that your controller will likely have the address already labeled on it on the back for ease of use, so you can easily jump to the next section
- Plug in your ESP32 and flash it with the Robotathon starter code your team should have forked
- Open the serial monitor

Opening the serial monitor through the ESP-IDF extension GUI - Put your controller into pairing mode by pressing and holding the power button until the lights slowly then rapidly move. You should then see your controller address as a string of octets (something like
98:B6:E1:7C:C3:95) in the serial monitor

Viewing your controller’s Bluetooth address- Look for terminal output like this when finding your controller’s address:

- Look for terminal output like this when finding your controller’s address:
Adding Bluetooth Address
- Try adding your controller’s Bluetooth address through the serial terminal:
allowlist_add <BLUETOOTH ADDY>
- Now check that the ESP32 actually accepted the address:
allowlist_list
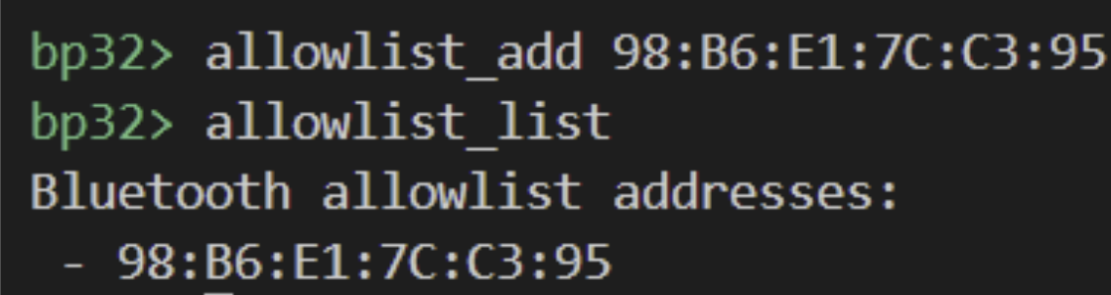
Adding and checking Bluetooth address
Accessing controller data
- The controller should be able to connect now, and the data should begin streaming in the serial monitor after connecting

Streaming controller data from ESP32
Notice how some joystick values are fluctuating! This is caused by mechanical wear on the joystick, and can be solved by implementing a deadzone when using your joystick values.
Code
In the sample code, there is a handle (i.e. pointer) for your controller called myController defined at the top of the loop() function. You can use the ControllerPtr class’s helper functions to read data from the controller into your code logic.
This means you will have to pass the controller handle into functions if you want to use them in there. Here is a basic example:
This sample only provides the basic structure of how you would break your logic up into different functions as good practice. You may edit it however you please!
#include "sdkconfig.h"
#include <Arduino.h>
#include <Bluepad32.h>
#include <uni.h>
#include "controller_callbacks.h"

extern ControllerPtr myControllers[BP32_MAX_GAMEPADS]; // BP32 library allows for up to 4 concurrent controller connections, but we only need 1

void foo(ControllerPtr myController) {
    while(1) {
        BP32.update();
        if(myController->a()) {
            Console.printf("hi");
            return;
        }
        else {
            Console.printf("Press button A!"); // Replace with whatever you want
        }
    }
}

void setup() {
    BP32.setup(&onConnectedController, &onDisconnectedController);
    BP32.forgetBluetoothKeys();
    esp_log_level_set("gpio", ESP_LOG_ERROR); // Suppress info log spam from gpio_isr_service
    uni_bt_allowlist_set_enabled(true);
}

void loop() {

    vTaskDelay(1); // Ensures WDT does not get triggered when no controller is connected
    BP32.update();

    for (auto myController : myControllers) { // Only execute code when controller is connected
        if (myController && myController->isConnected() && myController->hasData()) {

            foo(myController);

        }
    }
}
You must call BP32.update() to update the current controller values before calling helper functions (i.e. myController->a() or myController->x()) to actually retrieve the controller values.
To see how to access the different peripherals on your controller, check out the sample code’s dumpGamepad() function! Alternatively, you can hover over a function defined by BluePad32 and Ctrl + Left Click to see the actual source code for it (if your VS Code isn’t being dumb). Yet another alternative is to go dig around on the official BluePad32 docs.